My blog has moved!

You should be automatically redirected in 6 seconds. If not, visit
http://www.justdarlingcakes.co.uk/blog
and update your bookmarks.

Thursday 23 September 2010

Two very different cakes and a very happy cake designer (that's me!)


I have thoroughly enjoyed this week's orders. So different and challenging in different ways but I enjoyed them so much.

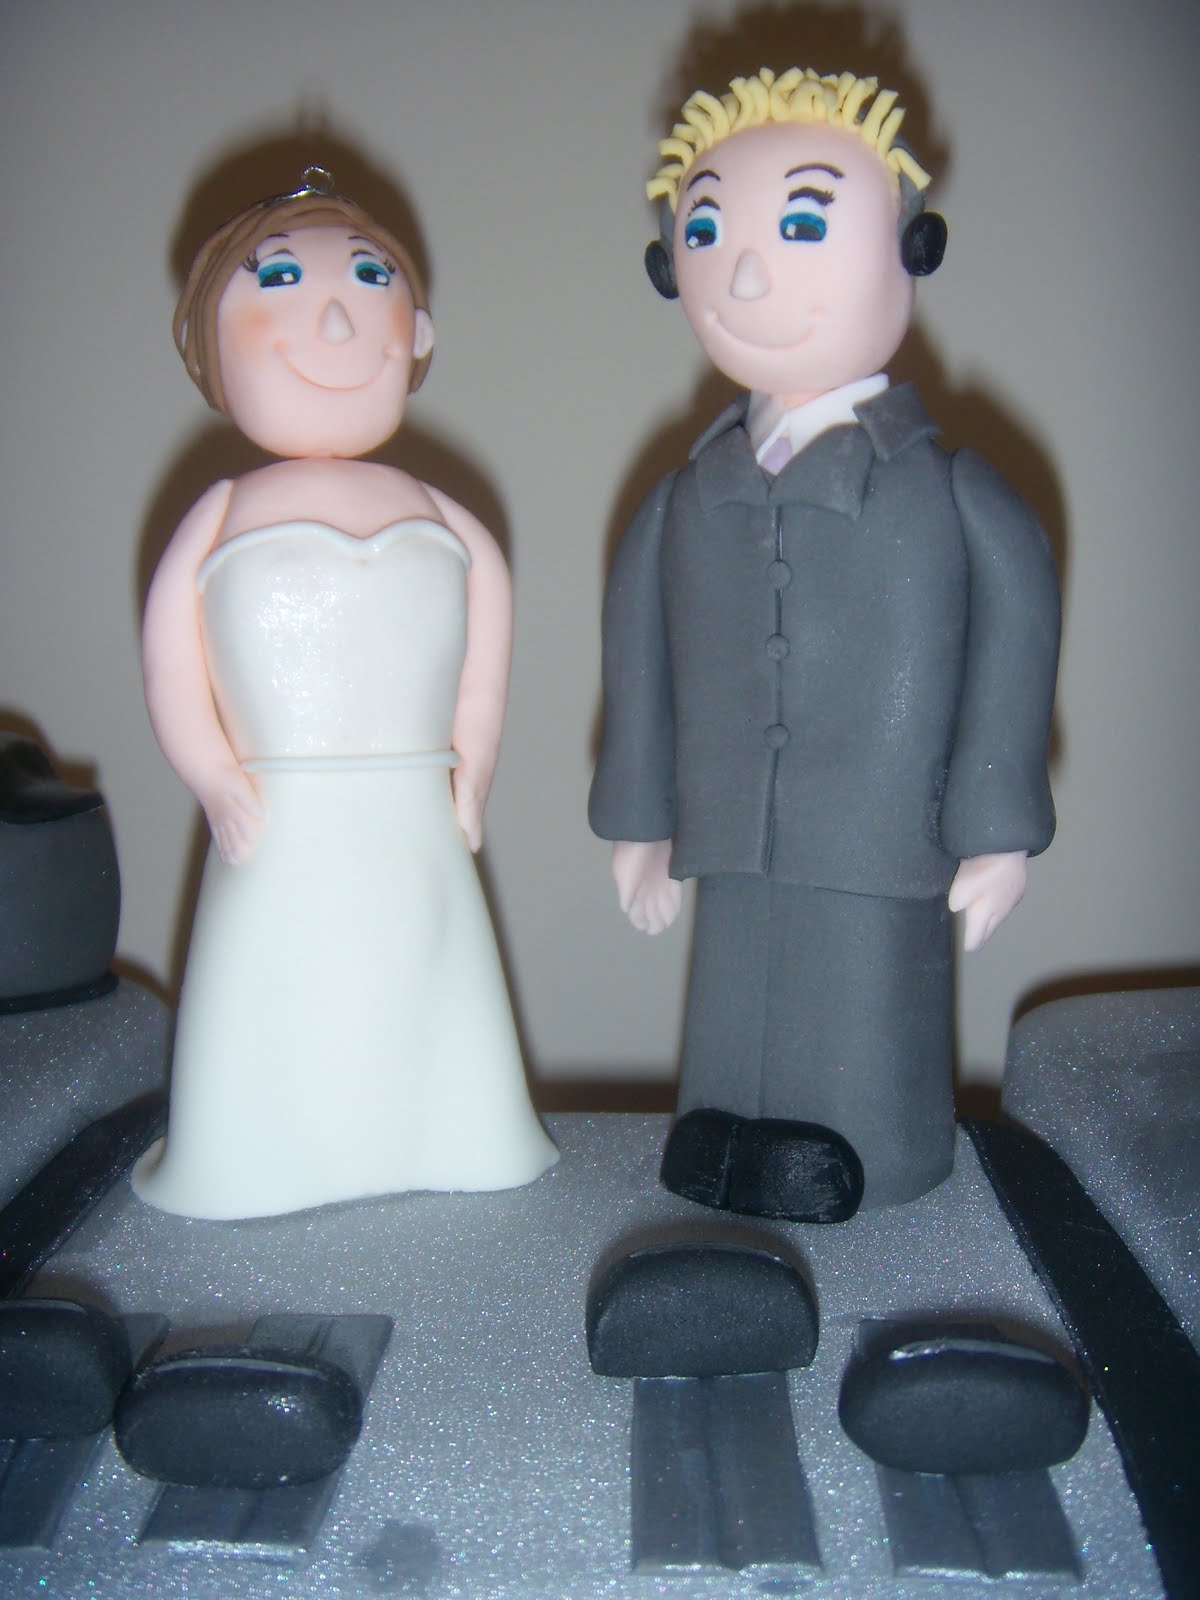
The top cake is a four tier cake with two layers of spicy carrot cake and two of chocolate for Lauren and Martin who married at Bagden Hall today. Lauren saw a cake similar to this in a bridal magazine and requested a version for their own wedding. The background is ivory to match Lauren's dress and the accent colour to coordinate with the bridesmaids.

The challenge was two fold with this cake the stacking with separators and the edible images. The stacking turned out to be fairly easy (yep I know the top tier is wonky on this pic but I changed it before I left :-) and very effective, it's definitely something I will look to incorporate into future designs. The edible images were great fun but nearly gave me a heart attack. Murphy's law says that the more fragile something is the more you will shake when handling it. However, I love the finished effect and thanks again to http://www.eatyourphoto.co.uk/ for their great service and speedy turnaround.

The second cake is a version of one of my designs I did for a photo shoot at the beginning of the year. This time though the accent colour was Merlot rather than being entirely white. I'm quite surprised how one colour can change the look of a cake so much, it's definitely more dramatic this way! The merlot colour was a challenge in itself. Icing is white and to colour something this deeply takes an awful lot of colour which is turn makes the icing a sticky mess, even great quantities of tylo made this quite hard to handle. When I first put the drapes on I felt the colour was still too flat, so I applied a coat of burgundy petal dust and snowflake lustre dust mixed with a little vodka to give the effect of the organza in the bridesmaids dresses... I love the way it turned out.

DJ Decks


This was a wedding cake and gift in one, from Rachel to her husband as he's a DJ and she wanted a really cool cake to represent that at their wedding. I love these cakes where it's both a challenge to me and a really special message to the recipient :-)

Everything is edible there are two 10" sponges one vanilla and one chocolate, a 6" chocoate square and two 8" half height round vanilla cakes. All the details are made from sugarpaste strengthened with tylo and the shiny effect comes from spraying with lustre spray in lieu of an airbursh, which sadly remains on my wish list. The lustre spray is lethal, although perfectly food safe and edible it gets EVERYWHERE, my kitchen will never be the same and I was high as a kite for 24 hours after spraying :-)


I used edible images for the Technics discs to get a realistic look. It's the first time I've used them but I'm really pleased with the results and I can't fault the website I got them from http://www.eatyourphoto.co.uk/ their customer service is fabulous... as I found out with my second order this week, definitely a case of nothing being too much trouble so THANK YOU :-)

I'll be posting more pictures tomorrow of this weeks wedding cakes, two very different cakes but both great fun to make.

Sunday 5 September 2010

Buddy's Roses


I'm a huge fan of Buddy Valastro of Cake Boss fame (top picture), despite all the 'created' drama in his shows I find them addictive and it's great when I can pass my addiction off as research by actually learning something from it.

I find rose making fiddly and the results less than satisfying so I thought i'd attempt to teach myself Buddy's way of making roses. He uses a five petal cutter, rather than individual petal cutters (the way I was taught at college). I kind of bodged my way through it and the photos above are first attempt and could definitely do with a little improvement but I like the method :-)
I have put the pictues above so will talk through them in order:
The first picture after Buddy is the flowerpaste on the pad ready to be thinned. You can see the cutter alongside, the letters and numbers on the cutter are guidance for the order to wrap the petals around the flower.
The second is my improvised drying rack. Buddy dries his roses upside down from what I guess are special racks, but I found the tins and cooling rack did the trick, although I would like to source a real one as this wasn't too stable, I'd hate to knock a full one over...
I noticed Buddy uses a thin foam pad under the bud while he attaches the petals, I had to improvise again and the black cup shaped thing is an indent from an apple tray, but it needs to be flexible so will have to try again with some foam. Something is definitely needed to stop the warmth of my hands making the flower paste sticky. The third photo shows one row of petals attached and one flat ready to be attached.
The final photo is the finished rose, it's so far from perfect but on the right track :-) Practice makes perfect and all that!